
How to configure WebCatPlus
You should configure IP address of WebCatPlus web server.
Also you should configure IP address of your PC if this is not done yet.
NOTE: All information below valid only for WindowsXP operation system.
First check IP configuration of your PC.
Open Control Panel.
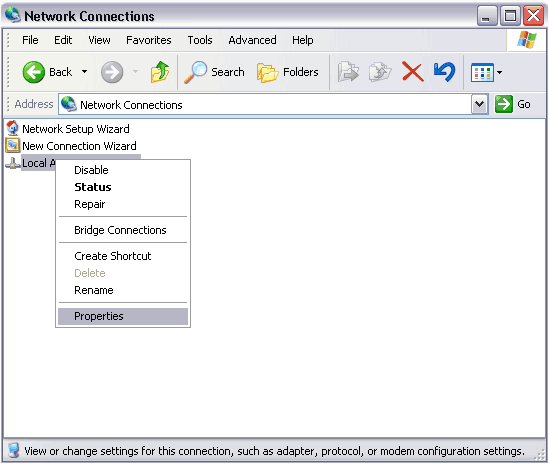
Double click on Network Connections shortcut.
In the opened window you should see at least Network Setup Wizard, New Connection Wizard shortcuts.
If you have any created network connections they also should be displayed. For example: Local Area Connection 1.
How to configure IP address if you have standalone PC?
If you haven't any created network connection and your PC is not connected to the local network you should at first create new one.
How to create new network connection:
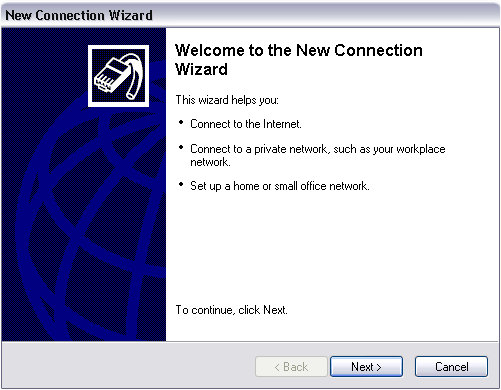
- Double click New Connection Wizard shortcuts.
- Click Next button in the opened window.
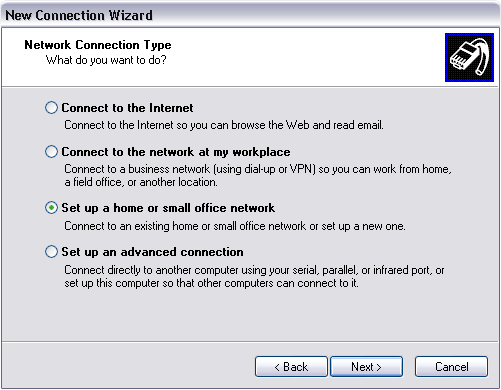
- Select "Set up a home or small office network" and click Next button in Network Connection Type window.
- Click Finish button in the next window.
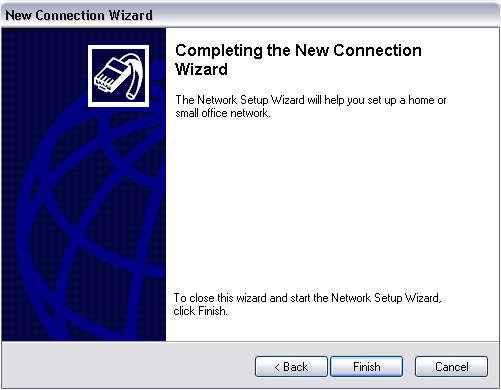
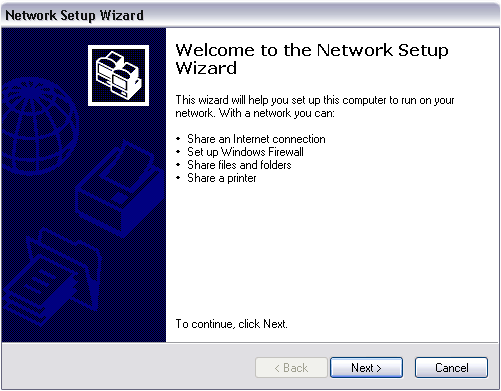
Then Windows run Network Setup Wizard
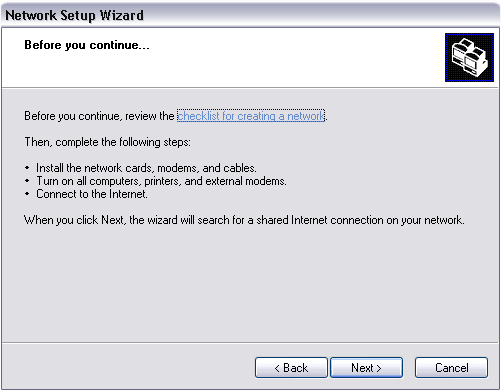
- Click Next button in Welcome to the Network Setup Wizard window.
- Click Next button in the following window.
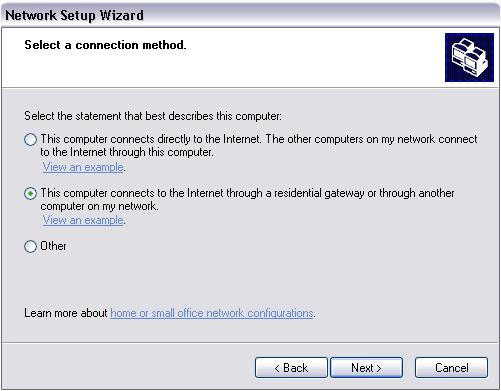
- Select the second option and click Next button.
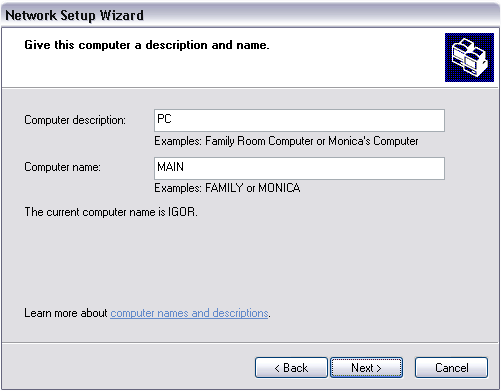
- Enter a computer description and name and click Next button.
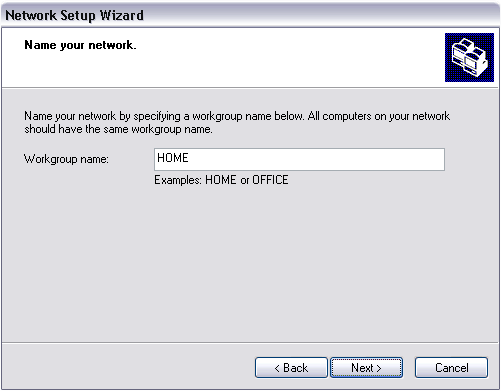
- Enter workgroup name and click Next button.
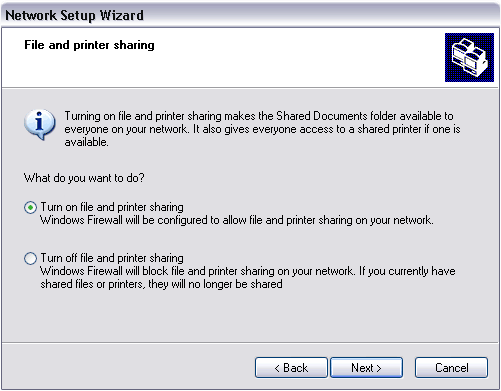
- Select "/images/2541549/Turn on file and printer sharing" and click Next button.
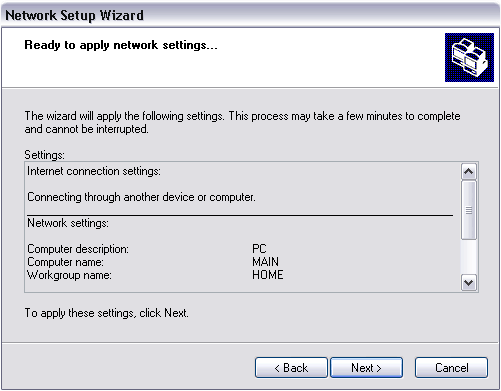
- Click Next button in the window that follows.
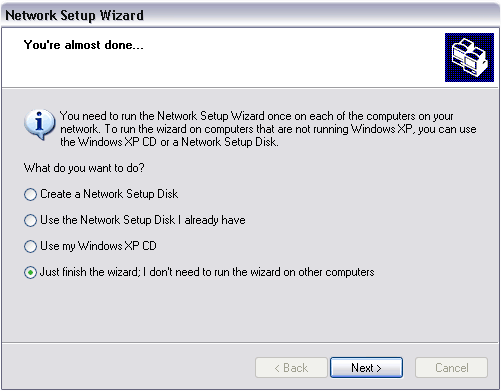
- Select "/images/2541549/Just finish the wizard. I don"t need to run wizard on other computers" and click Next button.
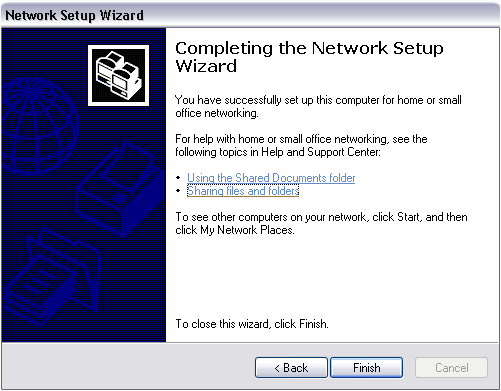
- Click Finish button in the last window.
Now we create new network and connection. You can connect your WebCatPlus to the PC.
Next step is configuring TCP/IP protocol on your PC.
- Open Control Panel. Double click on Network Connections shortcut.
- Open context menu for new Network Connection and click Properties.
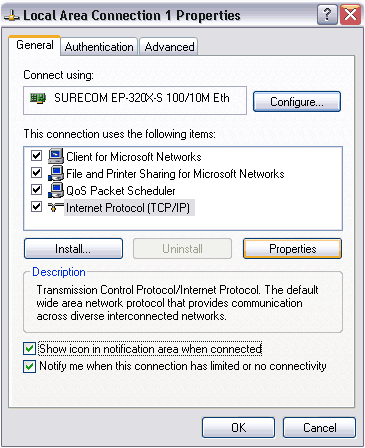
- Select "Internet Protocol (TCP/IP)" on General tab and click Properties button.
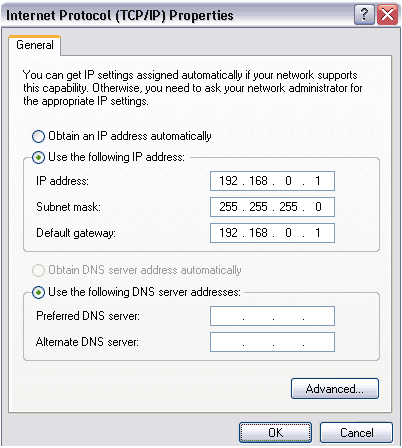
- Check "Use the following IP address" in the new window.
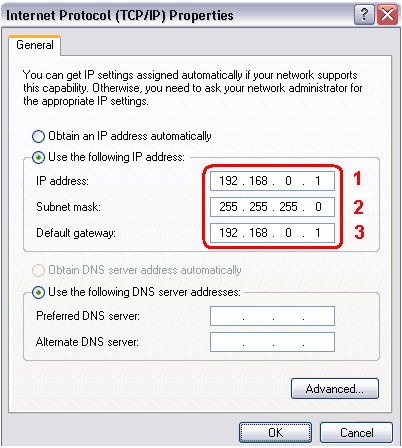
- Enter "192.168.1.1" in IP address field.
- Enter "255.255.255.0" in Subnet mask field.
- Enter "192.168.1.1" in Default gateway field.
- Click OK button.
- Close Local area Connection Properties window.
You have configured IP address of your PC.
Now you can use IP address in range 192.168.0.XXX for WebCatPlus, where XXX is number from 2 to 255 (because 192.168.1.1 is already in use by your PC).
For example, 192.168.0.2
How to configure IP address if your PC is already connected to the local network?
In this case you should connect your WebCatPlus to the hub.
Then you should open properties of TCP/IP protocol on your PC.
- Open Control Panel. Then double click on Network Connections shortcut.
- Open context menu for your Network Connection and click Properties.
- Select "Internet Protocol (TCP/IP)" on General tab and click Properties button
Now you can see IP address, subnet mask and gateway IP address of your PC.
Now you should run WebCat Publisher.
Open your project in WebCat Publisher . Click "/images/2541549/Open" toolbar button. This will open browser for directory dialog.
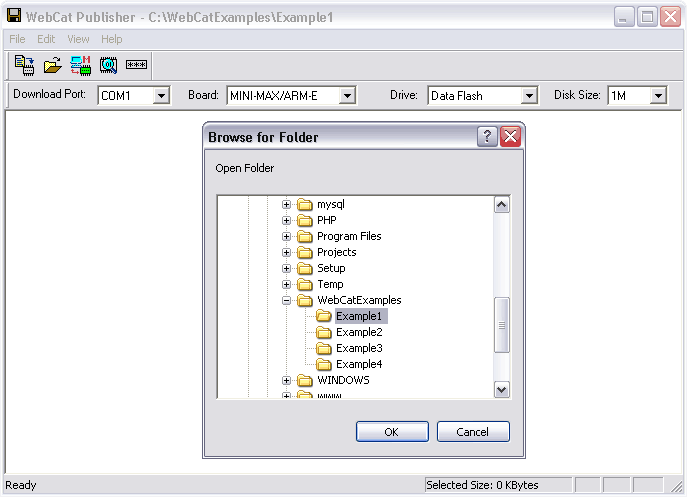
Select the directory where your project is and click OK.
WebCat Publisher opens your project.
Click "/images/2541549/Web Server Configuration" toolbar button in order to open "/images/2541549/Web Server Configuration" dialog window.
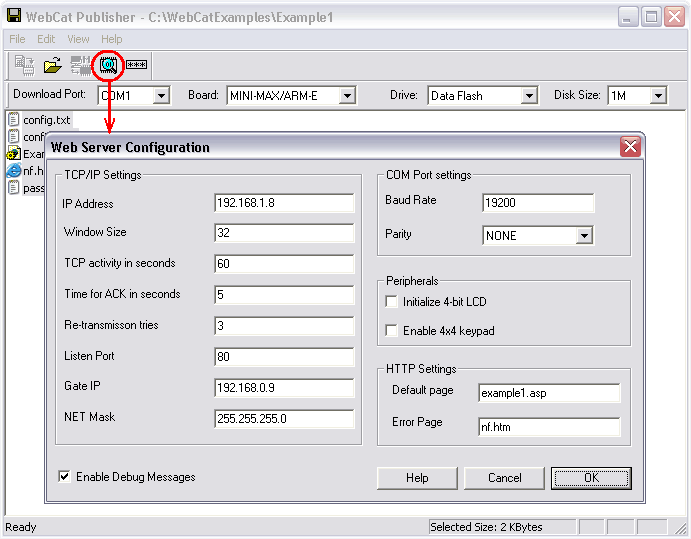
You should configure IP address, Gate IP and NET Mask fields.
You should change IP address according to IP address field in Properties window of your PC.
First three numbers should be the same as in IP address field. (for example 192.168.0.xxx or 192.168.10.xxx)
Last number should be unique value in your local network.
For example if your network has computers with IP addresses:
192.168.1.1192.168.1.2192.168.1.3192.168.1.4192.168.1.5
You cannot use the numbers: 1, 2, 3, 4, 5 in last position.
You can use any other numbers in range 6 .. 255.
Change Gate IP value to that which is in Default Gateway field in Properties window of your PC.
Change NET Mask value to that which is in Subnet mask filed in Properties window of your PC.
NOTE: It is very important that Gate IP and NET Mask fields have the same values as on your PC. In other case you will be not able to browse your site from WebCatPlus.
When you finish configuring IP address, Gate IP and NET Mask fields you should click OK button. WebCat Publisher close "/images/2541549/Web Server Configuration" dialog window and create two files in project directory: config.txt and config1.txt. These files should be downloaded to WebCatPlus web server with all other project's files. When WebCatPlus runs it reads these configuration files. If you don't create and download these files WebCatPlus will use default configuration and your project will not work properly.