
Configuring the project
Once you have created the project, added files to it and edited them, you may want to configure project before compiling it. This is not necessary most of the time since a new project is pre-configured with default settings that will work for majority of the applications.
To change the project settings of the current project, select Settings under Project menu:
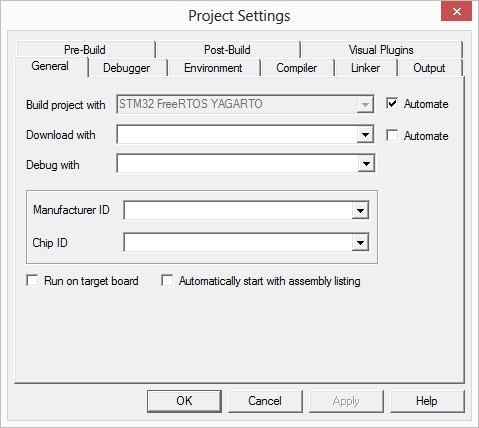
- Automate checkboxes mark actions that will take place when a project is built using the Build command. For example, if the Automate box next to the Download With field is checked, the output file is automatically downloaded to the target board following a successful build.
- In Download with selection field, you can select the downloader for your project.
- Debug with selects the debugger for the project. For information on available debuggers please visit BiPOM website: www.bipom.com
- Use Manufacturer ID and Chip ID to select the target chip. Debugger and simulator may use this information to support instruction sets specific to different chips.
- If Automatically start from assembly listing is checked, then when you start debugging or simulation, the listing file will be opened and you will step through assembly code, not through C source code.
- If Run on target board is checked, then after build process is finished, the board will be automatically switched to RUN mode and the Set Mode button will become green.
Debugger tab:
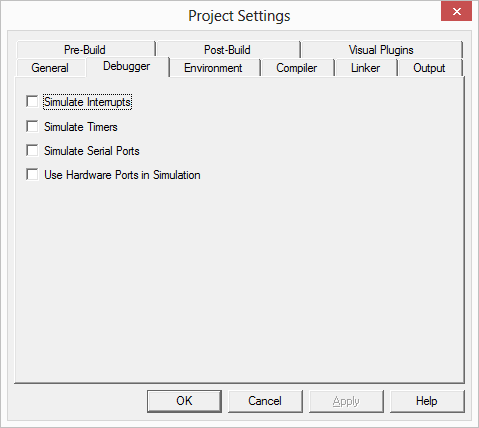
On this tab you can select modes of operation of debugger:
- If the Simulate Interrupts checkbox is checked, this indicates that the interrupts should be simulated in the simulation.
- If the Simulate Timers checkbox is checked, this indicates that the timers should be simulated in the simulation.
- If the Simulate Serial Ports checkbox is checked, this indicates that the serial port should be simulated in the simulation.
- If the Use Hardware Ports in Simulation checkbox is checked, this indicates that the physical I/O ports from the target board should be used in simulation. In this case, the simulator will communicate with the target board and update port data when the simulator encounters an instruction that reads from or writes to the hardware I/O ports.
Environment tab:
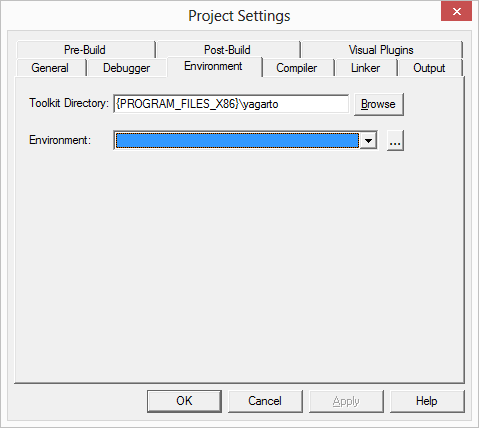
If your toolkit requires environment variables for proper operation, you can add/modify them using Environment field. Use Toolkit directory to set path to toolkit executable file.
Compiler tab:
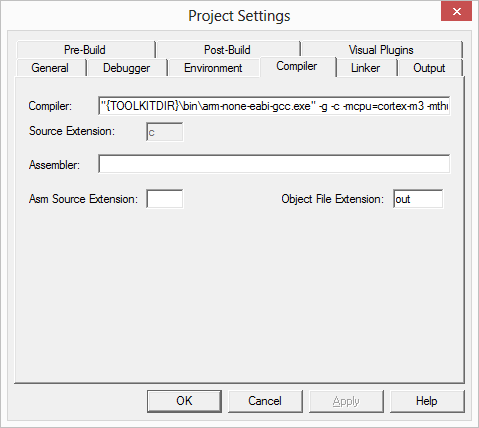
For each C language source file ( those with extension .c ) in the project, Compiler field is used for compiling the source file. For each Assembly language source file ( those with the extension that is specified in the Extension field ) in the project, Assembler field is used for assembling the source file.
Linker tab:
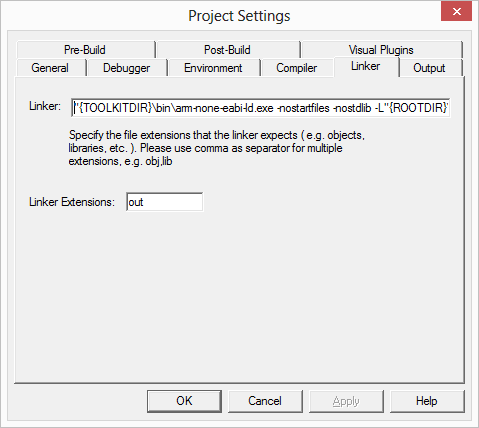
Linker field contains the name of the linker that will be used for combining the intermediate output files of compiler and assembler operations.Linker Extensions field shows which file extensions are recognized by the linker ( for example object files with extension .obj, library files with extension .lib )
Output tab:
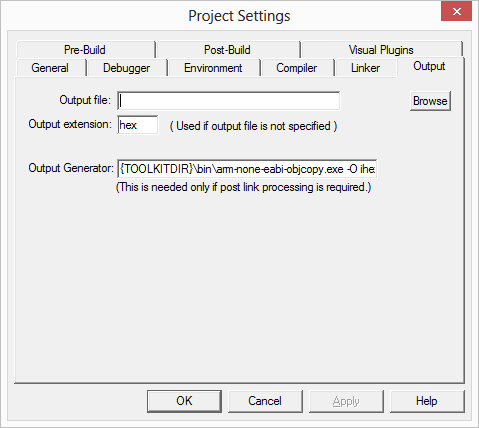
To specify the output file that will be generated when this project is built, either fill in the Output File field with the actual file name or fill in the Output Extension field with the extension of the output file. If Output File field is empty and Output Extension is specified, the output file name is generated by appending the extension to the project name. For example, if the project name is logger and the Output Extension field contains hex, the output file name will be logger.hex.
Output Generator field contains the command to generate the output file.
Pre-Build tab:
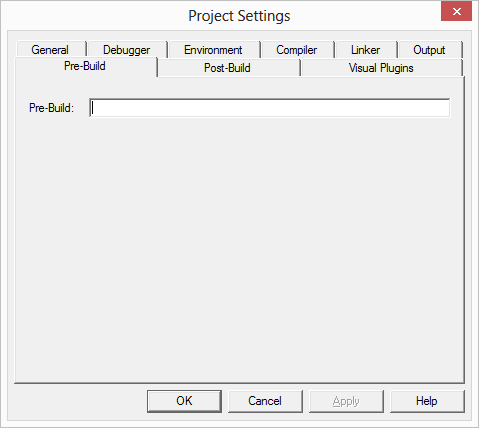
Any commands that need to be executed before compiler or assembler runs ( for example, batch files ) can be specified in the Pre-Build command line.
Post-Build tab:
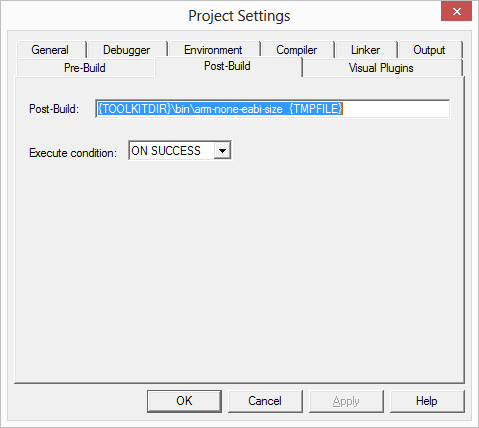
Any commands that need to be executed after the output generator executes can be specified in the Post-Build command line.Post-Build commandexecutes after the output generator executes successfully. You can select execute condition in dropdown list.
Visual Plugins tab:
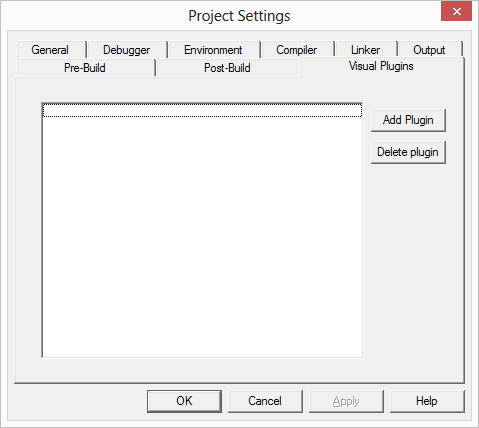
You can add any avaliable plugins to your project. Press Add Plugins button and select a need plugin. It will appear in list.
In this chapter of the guide you learnt how you can customize project settings. After this is done, you are ready to compile it. Please see next chapter.