Creating a new project
When starting a new project you have to create a new project, not simply a new source file.
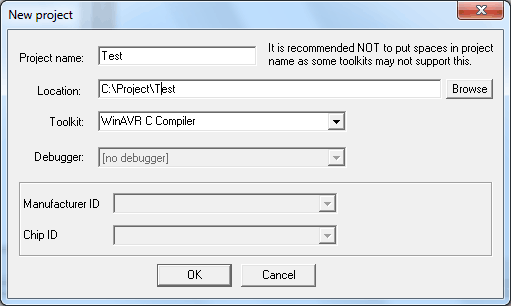
To create a new project, click command "New project" from "Project" menu.You will see the dialog window:

When creating a new project, please specify the following data:

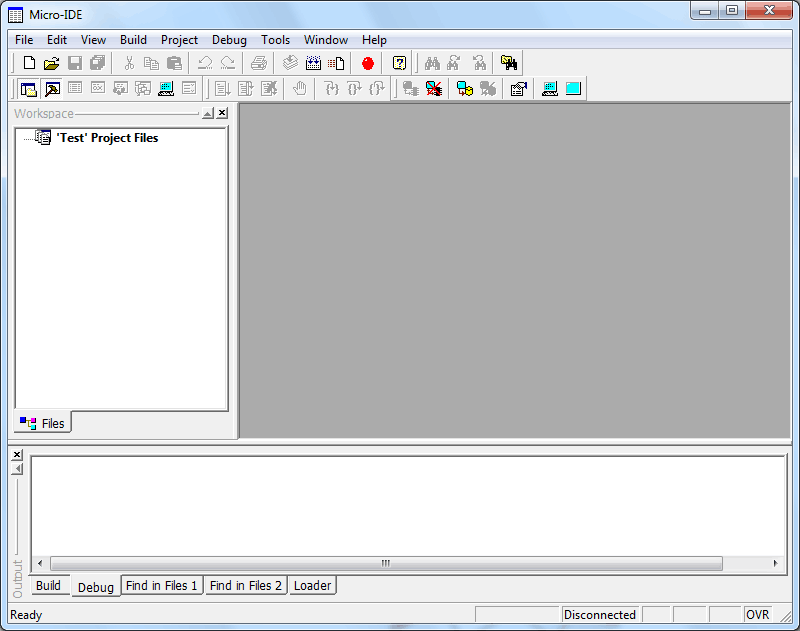
After you have created an empty workspace, you have to add source files to it. Next chapter describes how you can do it.
When starting a new project you have to create a new project, not simply a new source file.
To create a new project, click command "New project" from "Project" menu.You will see the dialog window:

When creating a new project, please specify the following data:
- Project - the name of the project file.
- Location - name of the folder where the project will be located.
- Toolkit - select a toolkit that the project will be built with. For our sample, select "WiAVR C Compiler".
- Debugger - select a debugger/simulator if you want to debug the project.
- Manufacturer ID, Chip ID - use these fields if you want to activate debugging features specific to your target chip.

After you have created an empty workspace, you have to add source files to it. Next chapter describes how you can do it.