Running under simulator
Previous chapter described how you can run your project on the target board. But sometimes it is more desirable to run it under simulator without downloading to the board. BiPOM Electronics provides several simulators for Micro-IDE.
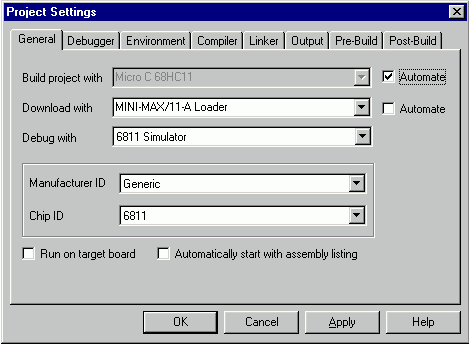
To run your project under simulator, first make sure you selected a proper simulator in project settings. Click "Settings" command under "Project" menu and select simulator on the "General" tab:

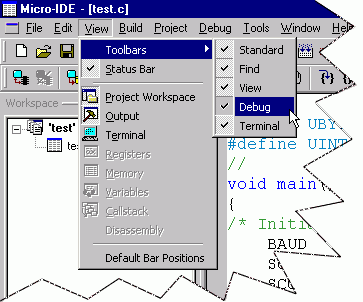
After that make sure "Debug" toolbar is visible. If it is not, check it on under "View" menu:

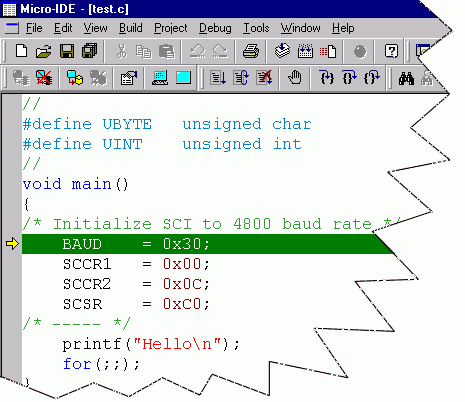
Use "Step Into" toolbar button to start debugging. This will position green line indicator on the source line that is currently executed:

You can continue execution using "Go", "Restart", "Step into", "Step Over" commands. These commands are under "Debug" menu and on the "Debug" toolbar. You can also put breakpoints using "Insert/Remove breakpoint" command.
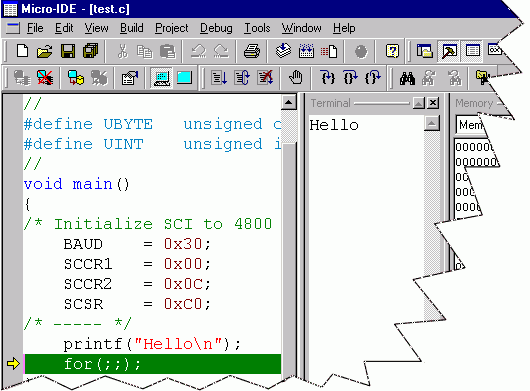
Simulator uses several windows to indicate state of the running program. Terminal window is used to input data and to show program output:

If you are building the project that uses IO ports and you need the project to work with real port data during simulation, you can use hardware ports in simulation. Next chapter describes this.